In this chapter, you will learn how to create a new task. You can also edit an existing task.
For more information, see the following chapters:
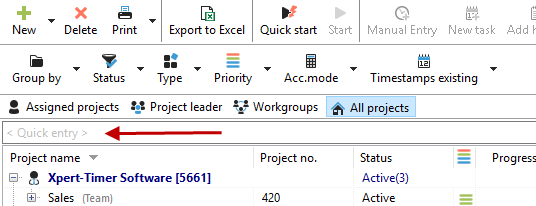
There are several ways to create new tasks in the Project Manager. The fastest method is to use the intelligent quick entry feature in your task window.
.
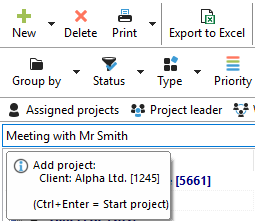
Quick entry interprets your entries. For example, if you enter "Meeting with Mr. Maier tomorrow," Xpert-Timer automatically sets the date. You could also specify a day of the week, e.g., "Meeting with Mr. Maier this Wednesday at 8:00 a.m." Xpert-Timer automatically enters the correct date and time in date format. The days of the week are cut out of the task text.
becomes:
|
Quick entry |
|---|---|
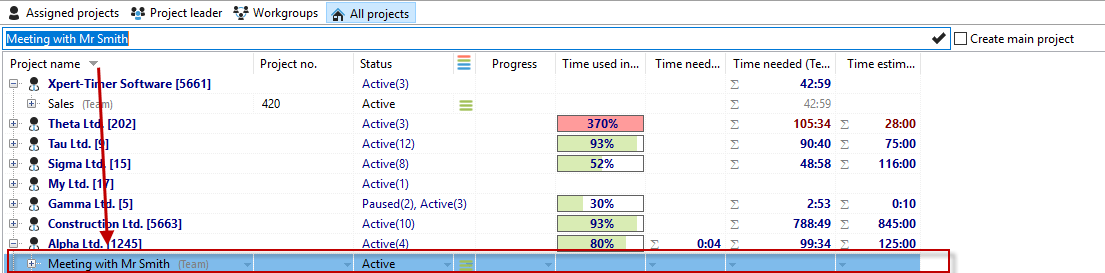
Please note that the project that is currently highlighted in blue in the Project Manager, i.e., "selected," is always used as the basis for creating the task. In the example below, the focus is currently on the project "Meeting Project XY." |
|
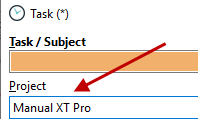
In quick entry, the task refers to the project selected in the Project Manager. The recipient As soon as you place the cursor in the quick entry area, an info dialog opens, telling you exactly which project the task is being created for.

Xpert-Timer always tries to understand for which project you want to create the task. In our example screenshot, if we right-click on the blue-highlighted project "Manual XT Pro" in the Project Manager and select "New Task," we would create a task related to the project "Manual XT Pro."
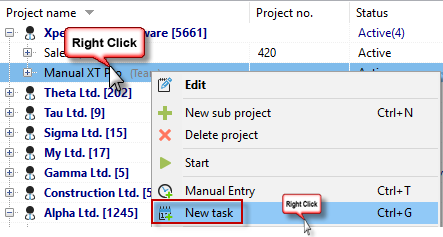
In the task area in the Project Manager, right-clicking and clicking on the green plus sign would create a task for the "Marketing" project, because this was selected with the mouse in the project list.

|
Intelligent quick entry |
|---|---|
Be sure to read the chapter "Intelligent Quick Entry" for other areas in your Xpert-Timer. |
|
Dialog: Task
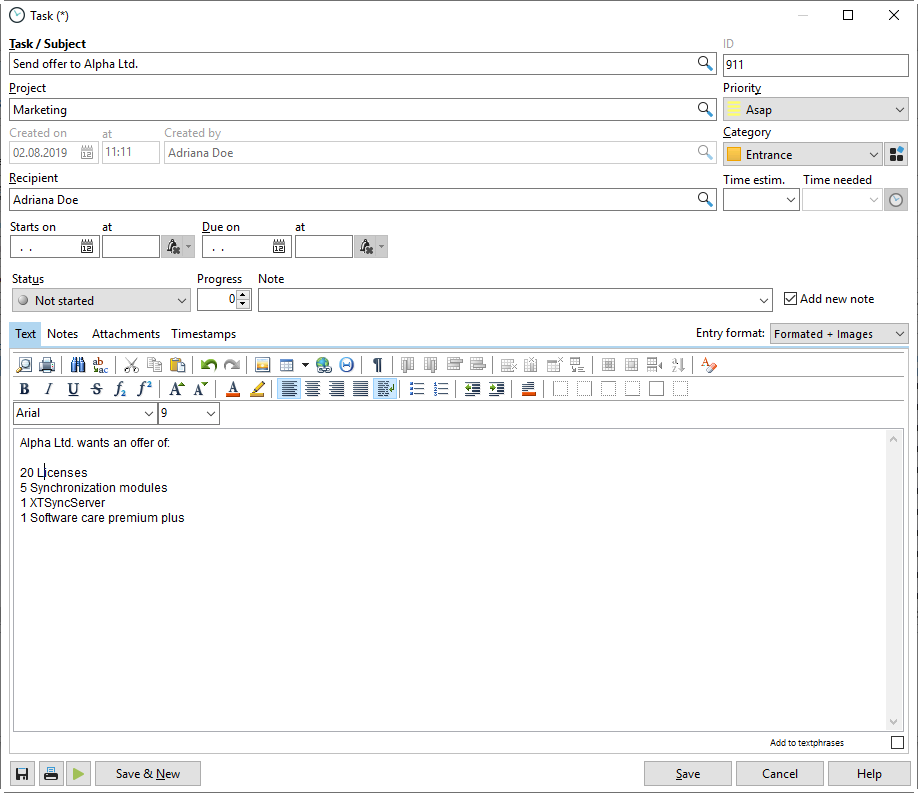
Task subject
To create a new task, first assign a task subject. This "subject" will also be displayed in your task list. The ID for the task is assigned automatically. It is used to easily reference a specific task in a meeting. You cannot change this ID number. If you want to use a barcode reader, you can generate the barcode for the task here.
The priority of the tasks ranges from Lowest to Immediate. For the priority "Immediate," the fields "Due on" and "Starts on" are irrelevant, since the task is due immediately.
In the task list, you can also sort your tasks by priority by clicking on the column header. This sorting works with every column.

Task status
You can use the task status to specify the current stage of the task. The following statuses are available:
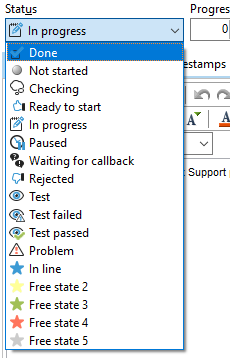
You can edit and freely name the "free statuses" in the Xpert-Timer configuration.
Categories
To better sort your tasks, you can divide them into categories. You can define these categories yourself in the Xpert-Timer configuration. In the task list, you can then filter your tasks according to these categories. Next to the dropdown field, you have the option to edit the categories. There you can also set a default category.

Task duration
If you only want to see the tasks in your task list at a specific time, enter a date in the "Starts on" field. The corresponding task will only be displayed in the task list when this date is reached.
A due date is required if the task should be completed by a specific time. If this time is exceeded, the task is displayed in red in the list.
Optionally, you can estimate the duration of the task. Since all tasks are linked to a project, you can also transfer this estimate to your project.

If necessary, you can display and print the "Estimated effort" column in your task list.

Task description with text modules
Finally, enter a detailed description of your task. You can also use text modules, which you can define in the configuration. Right-clicking in the text area gives you additional options, e.g., to insert the user name, date, or time.
Displaying tasks in the task list
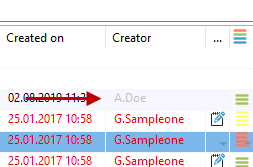
If you have displayed the "Creator" column, your own name will appear in gray, as it is considered "unimportant." The names of other creators who have created a task for you will appear in normal font.
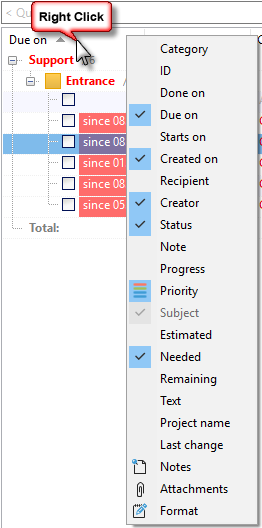
Column configuration
You can show or hide columns by right-clicking on a column header in your task list. As in the rest of Xpert-Timer, all columns that you show will also be printed.