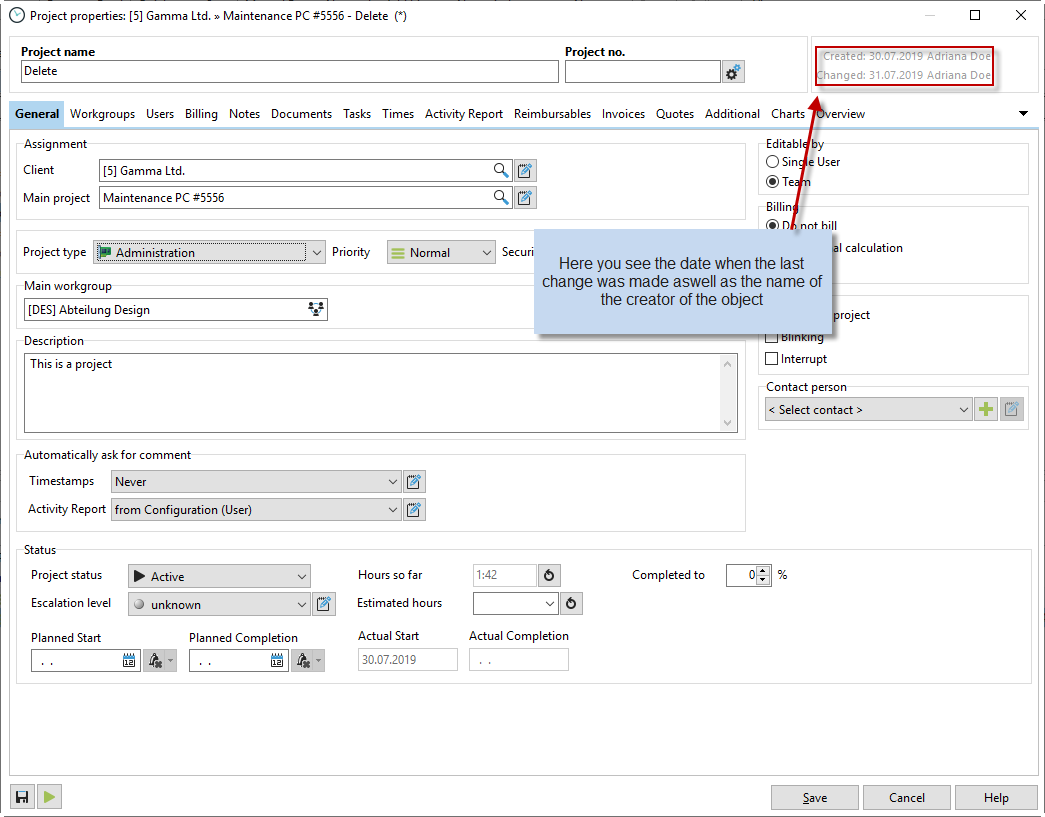
We will now introduce you to the individual fields under the "General" tab:

Project name
|
Any name for your project. If it is a main project, you will only see one level, "Project name." If you create a subproject, you will also see the assignment to the main project. If you see this assignment but actually want to create a main project again, simply delete the assignment manually. |
Project number
|
If necessary, enter a project number here for your reference. |

Assignment
|
Assign your project to a customer or a main project here. |
Project type
|
Select a project type here. This allows you to filter in various dialogs. |
Priority
|
In the project manager, you can sort your projects by priority. Specify the priority of your project here. |
Security level
|
Each employee has an assigned security level. You can use these security levels to control the visibility of corresponding projects. If the employee has the security level "Medium," they will only see projects with the same security level or lower. |
Color
|
To better highlight your projects in the Project Manager, you can now assign a color to each project. This setting applies company-wide. This means that when you change the background of a project, all your employees will see this change in their Project Manager after the next update. |
Description
|
If necessary, enter a more detailed description of your project here. This additional information about the project will later be displayed in the description in the Project Manager and also when you hover over the project with the mouse in the application. |
Main workgroup (if activated in XTAdmin) |
With the cross-workgroup setting in XTAdmin, a project can belong to multiple workgroups. However, you must still decide which is the main workgroup for the project. New subprojects are assigned to this main workgroup, and new employees who are registered for this workgroup can then be automatically assigned to this project. |
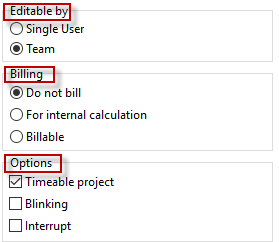
Editing by
|
Specify whether the project will be edited by individual employees or by a team. |
Billing |
Do not bill: You are working on a project that is not to be billed to the customer, nor is it to be included in the internal calculation of project times. This could be, for example, lunch breaks or private phone calls. Internal calculation only: This is a project that is not included in the time calculation for the customer (for their invoice), but is only to be calculated internally. This could be a "support" sub-project, for example, which the customer has already paid for with the purchase price of software. Nevertheless, you want to calculate how much time you spend on support for the customer and how much it costs your company. Billing: If you want to bill your project times to a customer, select this option. |
Options |
If the time account is activated, project times can be posted to it. Please note that a main project with several subprojects should never be a time account and no times should be posted to it, otherwise the sum of the project times of the subprojects will not match the total sum of the main project. If you are frequently interrupted by other things while working on a project, it is advisable to mark a project as an interruption project. The difference to other projects is that when you press stop, the last project that is not marked as an interruption project is automatically restarted. The Flashing option means that the project flashes in the timeline when it is active. This option is useful, for example, when measuring break times. When the Automatic Pause option is activated, a project is automatically paused if there is prolonged inactivity. |

Automatic comment entry |
You can set whether you want to be asked automatically for timestamp comments or entries in the history. You can also enter a default text that is then entered automatically, for example, when stopping a project. This is especially helpful if you are working on the same project for weeks. |

Project status
|
Choose from different project statuses. The "Active" status is the default. You can now assign up to 10 free statuses. To do this, open the configuration, the "Advanced" area, and the "Project status" tab. |
Hours so far
|
This is the total sum of all times stopped on this project. |
Completed
|
You must enter this percentage yourself to keep track of which projects are getting out of hand. |
Time used |
This is the percentage ratio of time spent to your estimated hours. |
Escalation status
|
If there are problems with the project, you can set the escalation status and enter a corresponding text. In the project manager, you then have the option of sorting your projects by escalation status. |
Estimated hours
|
Estimated duration of the project in hours. |
Planned start / Planned end
|
The duration of the project over a specific period of time. |
Actual start / Actual end |
The actual duration of the project. |

Automatic progress query |
The entry of project progress is purely subjective and can be entered by any employee. However, you should designate one person to do this, otherwise progress may be entered arbitrarily. Progress can be tracked as a chart in the "Charts" tab of the project properties or displayed in the project list via the "Progress in %" column. If you do not want to use project progress at all, you can deactivate the option in the configuration, in the User -> Projects tab -> Automatic time/project control "Automatic project progress query". |
Contact |
You can assign each project to a contact person at your customer's company. This field is for information purposes only and does not offer any additional filtering or evaluation options. |